The answers to those questions depend on which version of Windows you are using and which version of Gardenware you are using.
The general answer is that there are folders within the Gardenware folder designed to store a logo or logos for each type of label that the user plans to print. Those labels may include the One Inch Loop Lock Tag, the Pot Stick, the Jumbo Sign (6.5 x 5 inches) for use without a photo, the Jumbo Sign for use with a picture, the 8.5 x 11 inch Poster in portrait orientation and the Poster in landscape orientation.
Because each of those labels has a different space available for a logo, each one will likely be similar to, but different than the others. Storing logos for each type of label in its own folder allows the program to display the appropriate logo or logos when printing each type of label. A number of users have multiple logos for various labels depending on how they are to be used such as “Jim’s Design & Landscape”, “Jim’s Garden Center”, “Jim’s Farm Market”, etc. Some wholesalers store their customer’s logos and deliver plants already tagged with their customer’s logo printed on the back, as well as signs (also with their customer’s logo) to help sell the plants.
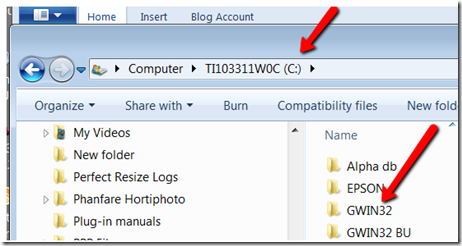
If you are using Gardenware 32.123 or earlier, and you made a default installation, the folders will be located in the GWIN32 folder under your C: drive. I am using Windows 7 and with my system it looks like this… It is easy to find.
Gardenware Version 10, however is a different story. The “Best Practices” recommendation by Microsoft has it buried in a folder that is normally a “hidden folder” . The official path is C:Program DataGardenwareGWlabeling.
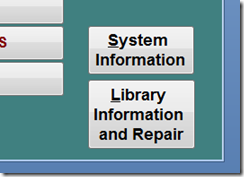
Realizing that this is a little cryptic and possibly confusing, our clever programmer, Mark, provided an easy shortcut directly to this folder from the program. Here’s how… At the bottom right corner of the Main Menu there is a big button labeled “Library Information and Repair”.
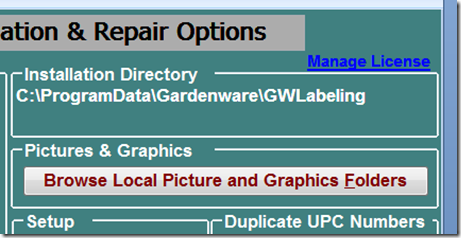
Click on it. The screen will open. On the upper right side of the screen is a bar/button that looks like this…
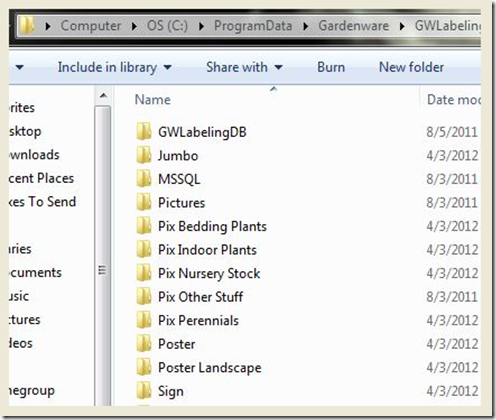
Click on it and you will be taken directly to the folder that contains all of the Gardenware program files. The folder is basically the same for either program. It should look similar to this…
You can see the folders named Jumbo, Poster, Poster Landscape and Sign. The purpose of these folders and a couple others that are not visible in this screen shot is to store specific logos for printing on specific labels and signs. Here is a list of which logos to store in which folders so they will be available when you print.
Sign or Store in folder
Tag Logo named
| Jumbo sign (2 up) printed with picture |
Jumbo |
| Jumbo Sign printed with no picture |
Sign |
| Poster in Portrait format 8.5 x 11 |
Poster |
| Poster In Landscape format 11 x 8.5 |
Poster Landscape |
| 1 Inch strip (back side) Loop Lock Tag |
Weight and Measure One-Inch Tag |
| Pot Stick – (back side) | Weight and Measure Pot Stick |
With your logo properly sized and stored in the appropriate folder, when you are ready to print, simply click on the Graphics/Text option bar…
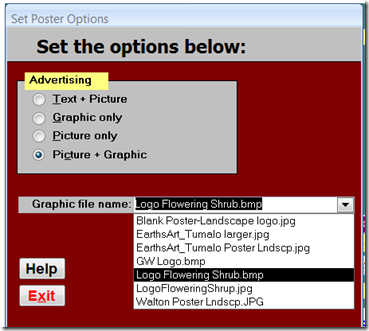
The screen shown below will open. Drop down the list of stored logos (you will likely have just one).Select the logo you wish to use and click Save Settings and Exit. That is the logo that will print on the sign and that selection will remain selected until you change it. You need not repeat this selection process unless you need to use a different logo.
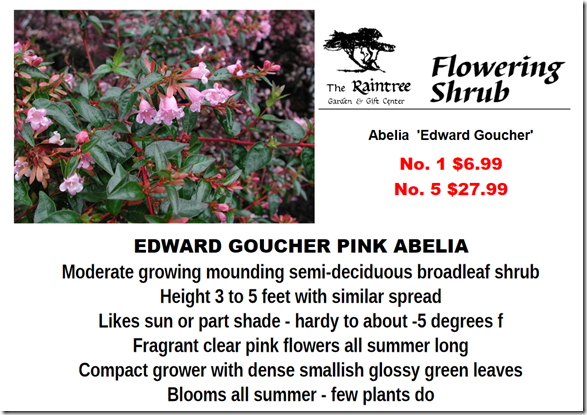
It will print like this…
